
First, you don’t absolutely have to have a picture. The default image is (or will be) a non-specific grid. The reason for having an image is that it will help you orientate yourself around the play area, by linking real items such as trees and buildings to their images on the screen (believe me it does help). It is also useful if you are going to set coordinates at the play area.
 Any image will do, but these are some tips that will help you. The image you want to load onto the tablet will have an ideal size of 800×657 pixels. It it is not, then the image will automatically scale to the size you upload but it may be distorted. But let’s get our image first and worry about size later. I generally start with Google Maps, or to be more specific, Google Maps Engine – as this will
 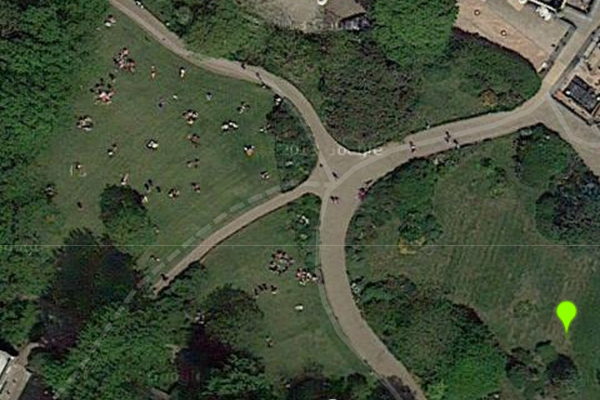 allow you to derive coordinates more easily.
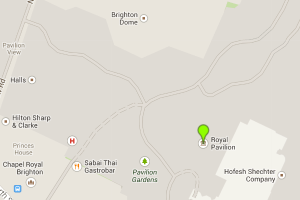
Click on “create a new map” and search for your area. I am going to create an image at the park by the Royal Pavilion in Brighton. You might choose to use the map view, or preferably, a satellite view (you do this by selecting the appropriate one from the Base Map drop down). Or you might choose to superimpose one on the other.
Just looking at your selected area on a map, raises a few questions about how you are going to play, particularly if it is in a public area. For example, are you going to be able to access all the areas within your selected area, or are there flower beds, or a large statue. And perhaps more importantly, are you going to be running between lots of people enjoying a peaceful picnic!
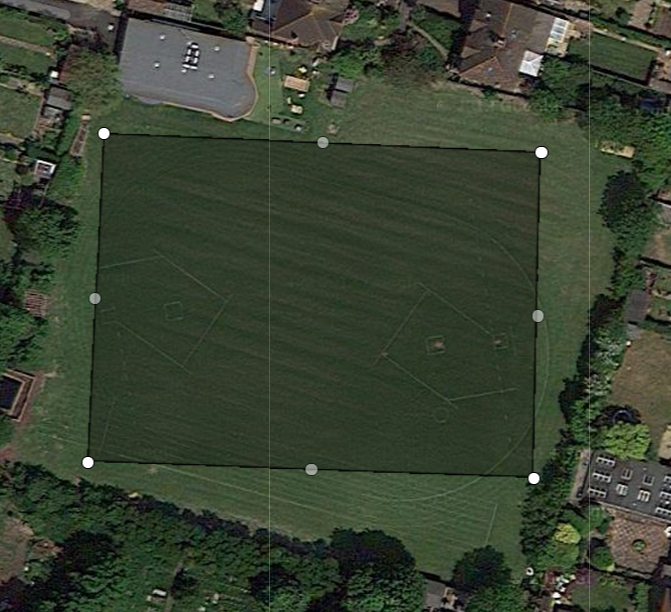
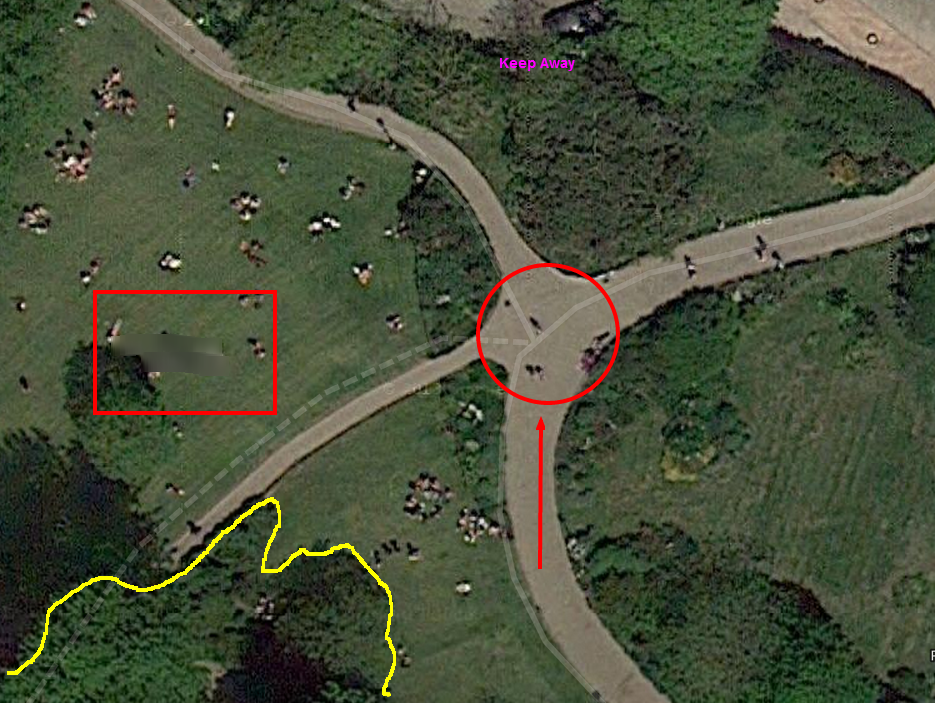
Next, you need to work out how big the play area is going to be. If it is too small, you won’t get the accuracy you need to play properly. Too big, and you may get exhausted with too much running. From experience I would say that a diagonal distance of 50m is about as small as you can go. 100m would be better, and you need to bear in mind the area is always in a rectangle, with the upper and lower borders running east to west, and the right and left borders running north to south. This means that the playable area of your field may well be smaller than the whole area available. See here, where the actually area is quite a bit smaller than the total.
Note, too, that if you are in a field the chosen image might just be green, which won’t be very helpful. It may have markings such as for a football pitch, but where the markings are now may be different from when the satellite view was taken. So what can you do?
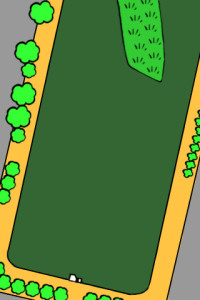 You can use the image as the basis of a drawing which can be derived from the map, such as this one on the left.
Or you can make sure you have the edge of buildings or other features in view.
Or you could add labels, saying things like “school in this direction”, or “bicycle sheds over here”. These you can create in the Maps Engine, or you might add them using a picture editor once you have cut and pasted the image from the screen. Talking of this, you may have a favorite way of grabbing screen images, but if not, here’s what I do…
… I use the Chrome browser which allows you to add extensions. There are several screen grabbers that can be used, but I favour Awesome Screenshot which will also allow you to annotate and crop your image.
I capture a larger area of the map than I need and then (in Awesome Screenshot) crop it either to the size I want or larger. Below I have added the annotations from AS. But I also use another extension for Chrome, a picture editor called PixLR (you can use your favorite one if you prefer – sometimes if I just want to adjust the picture size I use Paint)
 Here I have used PixLR to resize to the exact height and then crop to the exact width. I have then brightened up the colours and now it is ready to upload to the tablet.
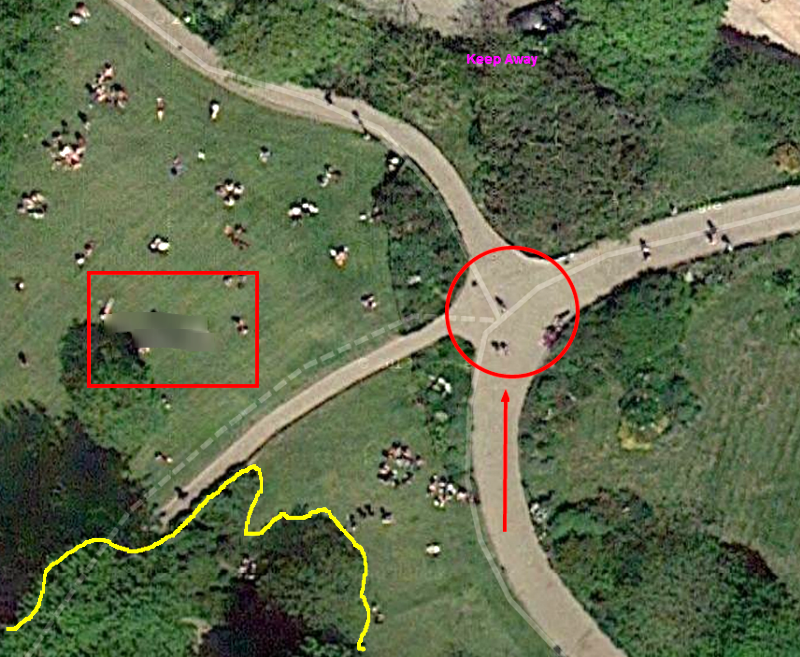
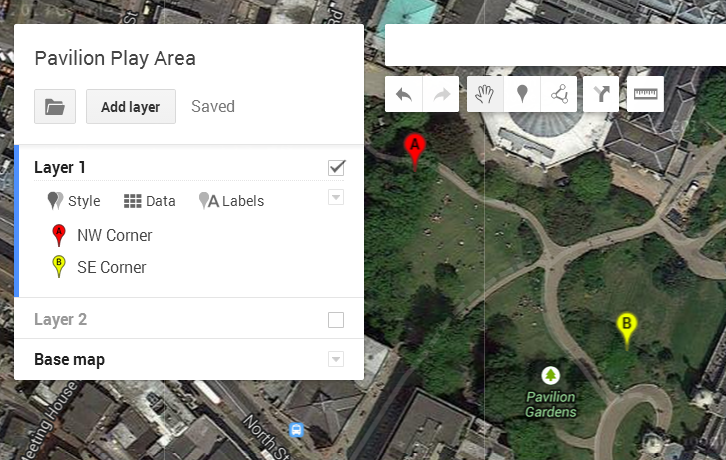
The one final thing I might want to do is to grab the coordinates of the NW and SE corners using the Maps Engine so that I can load them up to the tablet in advance. Note that I can just set these when I am actually on the playing field. The difficulty of doing on the field is that I might, as here, have chosen a corner that is made inaccessible by a bush. Also, unless you have put the corners at an easily identifiable point, you might not be too accurate. Here’s how you can get the values from the Maps Engine ….
… In an ideal world you would simply press a button and they would pop up. Here it is not as easy as that – but not mind bendingly difficult either. In the image below I have created 2 markers – A = NW corner and B = SE Corner. I have actually adjusted the positions after getting my image correctly formated.
 To get the coordinates you need to go to the HTML code page (if you are using Chrome it is CTRL-U and then searching (CTRL-F) for the text of your marker e.g. SE corner. You will then see the the pair of numbers close to, but before the name. Cut and paste and store safely, maybe in the description part of the marker in Maps Engine – you don’t actually need it to 10 decimal places, 4 or 5 should do (if you fancy a little exercise, work out what the difference in accuracy means for each decimal point).
[[\”gme_geometry_\”,,,,,,[[[50.822559907956034,-0.1380908489227295,0.0]\n]\n,[]\n,[]\n]\n,0]\n,[\”name\”,,,,\”SE Corner\”,,,0]\n,[\”description\”,,,,\”\”,,,0]\n,[\”place_ref\”,,,,,,,0]\n,[\”feature_order\”,,,,,,,0]\n,[\”gx_metafeatureid\”,,,,,,,0]\n,[\”gx_routeinfo\”,,,,,,,0]\n,[\”gx_image_links\”,,,,,,,0]\n]\n]\n]\n,,
And that’s it – have fun!