There are 2 posts associated with pipes: in this section we discuss how you use the pipes when playing Invisible Buildings. The other post tells you how to make the equipment from scratch.
Background
 When we first dreamed up the concept of Invisible Buildings, the idea was for a game to be played on a smartphone. Our budget only allowed for 3 phones (HTC Hero) and we had a problem as we needed to try out our games in classes of up to 30 children. By dividing them into 2 groups of 15, we were able to run with 3 groups of 5. But they couldn’t all be looking at the phone at the same time – answer, give them other tasks to do. We supplied them with clipboards, stopwatches, hooters (for when they found something) and a set of pipes that could be configured to look like a metal detector or a geophys machine (and as such required the help of one or more child to hold or carry) – an idea was born.
Interestingly, having the pipework not only did the trick but actually enhanced the experience by encouraging teamwork (on more than one occasion teachers commented that this was the first time they had seen children working together). For me, one of the most interesting parts of the Invisible Buildings project has been the constant evolution (to the teacher that said, “it doesn’t look finished”, you are absolutely right. We are currently on design 5 and have no intention of stopping.
Anyway, you are here because you want to build a set of pipes so here we go. Of course, from a technical point of view there is no need to have any pipes at all. You can just use your tablet, but … well, it’s just more fun, and if you are playing in less than ideal weather conditions, some sort of box to put the tablet in, is highly desirable. And again, there is no need to build exactly as we have described – yours may be better (and if it is, please let us know).
Let’s start
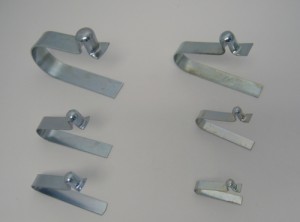
Some of the pieces and in particular the box that houses the tablet, are glued together, and where we can’t we use button clips to assist in a robust and childproof connection (picture from Magrenko). When joining the sections with the clips just depress the button and push the pipe into the connector until the button locates in the hole. Just let Johnny try and pull that apart! I am still in two minds about what bits we clip and those we don’t – as when new the pipe and connector form a fairly robust joint. How these will seem two years down the line is another matter. Where stress is exerted when playing the game we will always use clips.
To remove a clipped pipe, depress the button and twist (rather than pull) so the button is inside the pipe and then twist the two bits apart.
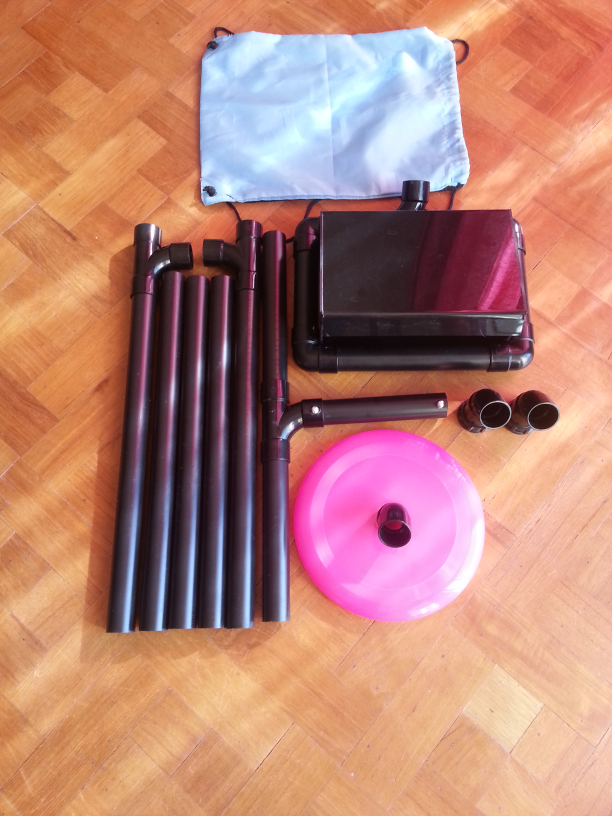
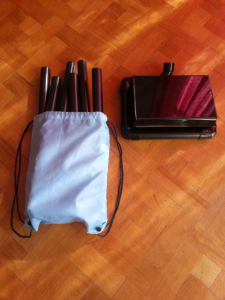
Through a process of evolution we are now able to get all the bits needed into drawstring gym bag that can be carried by a child, and yet still can emerge into different machines for the five games. Here’s how that looks. There is:
- a box into which the tablet is placed. The box is surrounded by a set of pipes which we will detail in a bit, and to which other bits can be added.
- below the box on the right you can see two 45 ends (45 degree bends with end caps).
- and below this the metal detector base (yes, it is a frisby).
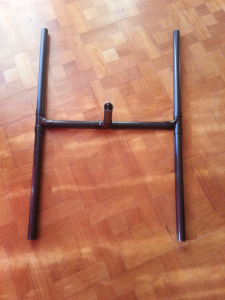
- to the left is the T piece (3 pipes arranged at a T).
- and to the left of this are two connector arms ( 2 pipes with T connectors at one end)
- and 2 plain arms (just pipes)
We will now run through how the pipes look in each of the five games. In order these are for the metal detector, squirrel sorter, geophys, mole digger. We use the same configuration for diggory drop as in the squirrel sorter – the logic behind this is as there is quite a bit of running needed – keep the equipment light.
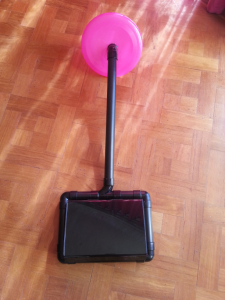
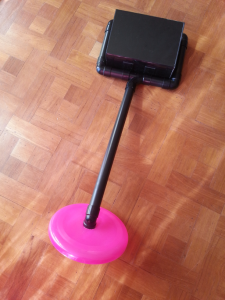
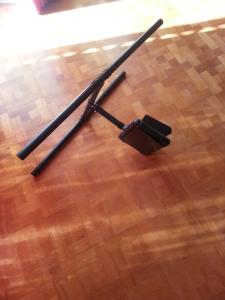
Here is the metal detector layout. We have the base screwed to a 45 degree bend. We will show more of the constructional details later. Here we are more interested in how the bits are assembled for game play.
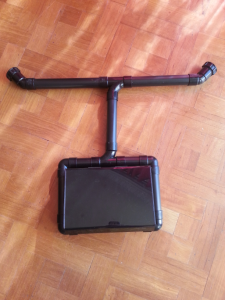
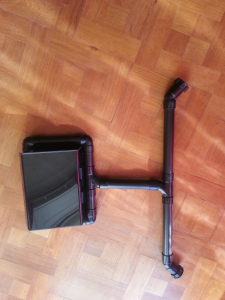
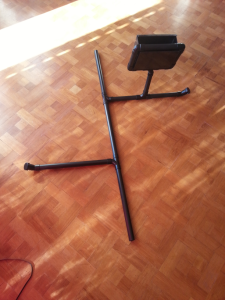
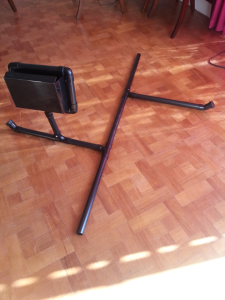
Below we have the T piece which is uses in all games except metal detection. Here the T is simply attached to the box, with 45 ends on the other arms. We use this in Squirrel Sort and Diggory Drop.
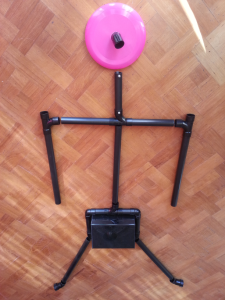
We now see the geophys set up (Geophys was the inspiration for using pipes in the first place, as this is exactly how some geophys equipment looks and before black was the new white (see here). Here we attach 4 arms (first the 2 connector arms and then the plain ones) to the T piece which is still connected to the box.
Finally we see how to set up the Mole digger. Again the T piece is connected to the box. On one end we have a 45 end. The other has one connector arm, with the other connector arm below. Plus one plain arm above and the second to the side with a 45 end. This arrangement makes it easy for the person looking at the tablet to go round in circles. The other parts can be held onto by team members keeping it all steady.
You might like to print out this page to refer to when out playing the game. And as I said previously, if you have some ideas about how we can improve the equipment please let us know.
